WINDOWS INSTALLATION INSTRUCTIONS
See the installation tutorial video here
BASE REQUIREMENTS
INSTALLATION
- SQL Server
SERENEDI requires a running SQL Server instance; the examples included in these instructions assume that it was installed:- Using an server instance name of MSSQLSERVER (and not ./SQLEXPRESS)
- Using SQL Mixed Mode authentication
- Using an ‘sa’ password of ‘strongPass1’
- An account and password with local administrator privileges
This is the account that will be used with the SERENEDI Service that is installed. If this is a domain account, it should be expressed in the form DOMAIN\username. If it is a local account, it should be expressed as ‘.\username’ (no quotes). The E-mail based logins used for Windows 11 logins cannot be used for the installation. Even if you are using an E-mail based login, however, you can go to Windows Settings -> Accounts and then “Add Account” (select Administrator) to create the local admin account. If you create it with a blank password and manually set it afterwards, you should be able to bypass the security questions. - United States Date/Time Format
Under Windows Settings, the Regional Format must be set to English (United States) for whatever domain account is used for the installer: - SQL Server connection string
This defines the location and possibly the login credentials of the SQL Server account. For different examples of the connection string, visit https://www.connectionstrings.com/sqlconnection/ This connection string will be used in conjunction with the supplied login credentials above to access the SQL Server specified above. It will also specify the name of the distribution database – by convention, this is normally called ‘serenediCore’.
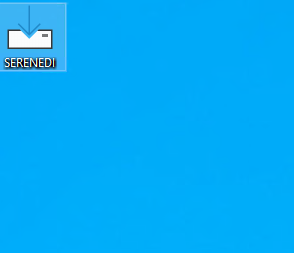
- The SERENEDI Windows installer is a single MSI file, around 120MB in size, looking like this:

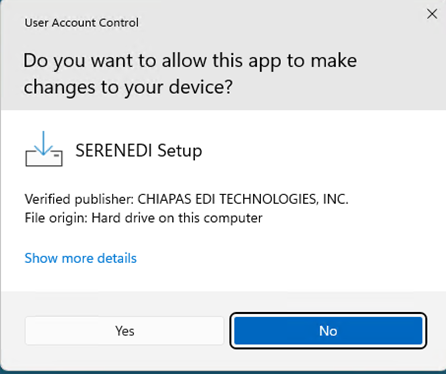
- It will likely be named differently than as listed here. Double click on it, and you should receive this popup – click Yes to continue:

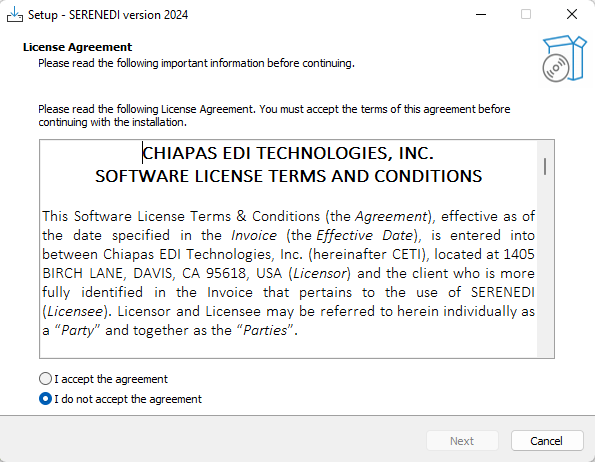
Click “Yes” to continue. - Accept the License Agreement

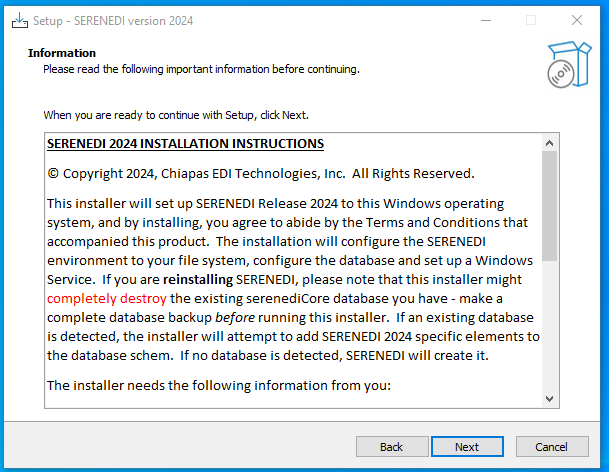
Click “I accept the agreement” and hit Next. - Read the installation instructions

Click “Next” when you are finished reading. - Fill in the Prompts

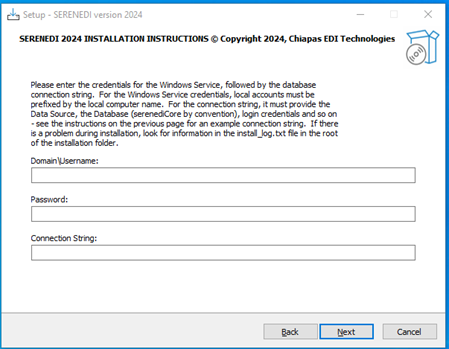
The Domain\Username prompt is the login credentials used to use the Windows Service. If you are using a local domain account, use “.” For the domain – for example: .\adminEnter the password associated with that account in the password prompt.
Finally, enter a connection string that SERENEDI will use to connect to an existing serenediCore database (which it will attempt to upgrade, if it has not been upgraded), or to create a new serenediCore database if one does not exist on that server. An example connection that would connect to a local SQL Server instance with an administrator password of ‘strongPass1’ is as follows:
Data Source=(local);Database=serenediCore;User id=sa;Password=strongPass1;TrustServerCertificate=true;
- Enter the Destination Folder

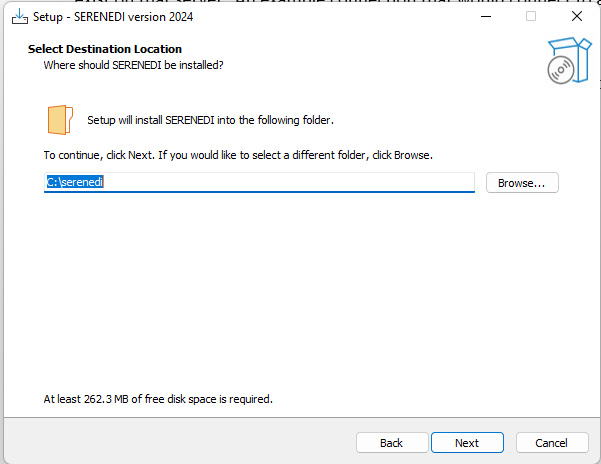
Enter the destination folder for SERENEDI, or use the default in place, and hit “Next.” - Confirm the Installation

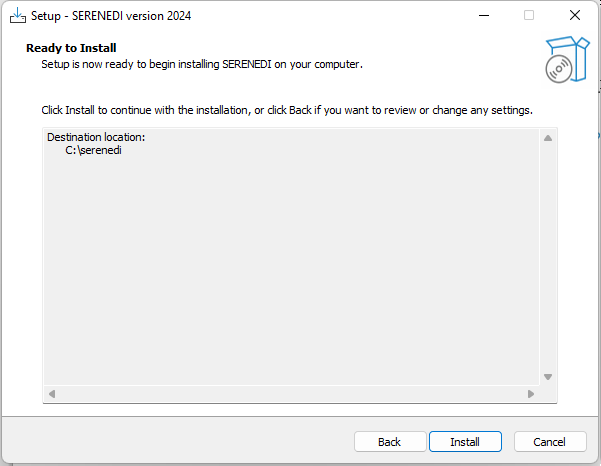
Press “Install” to start the installation process. - Confirm success
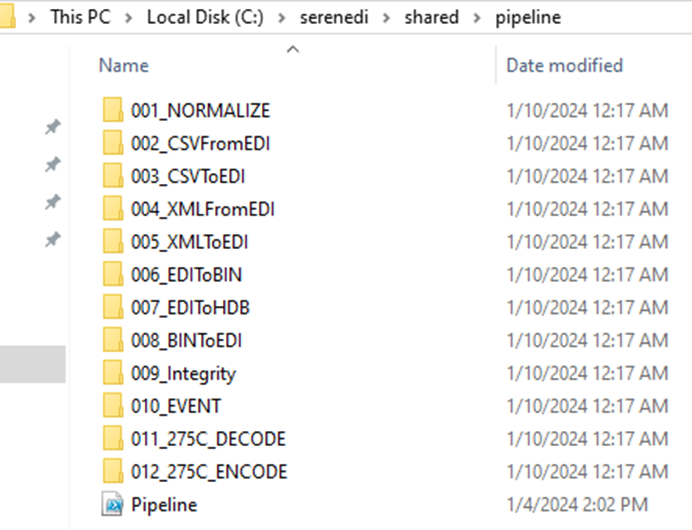
If all steps are successful, you should get a Setup Complete dialog. To further ensure normal operation of SERENEDI, go to C:\serenedi\shared\pipeline, and look for the following folder structure:
If this folder structure exists, then SERENEDI is running and processing events successfully.
TROUBLESHOOTING
1. If upgrading the schema of an existing database and you do not see the new 011 and 012 pipeline folders appear, try running the command on the associated distribution SQL Database:
insert into BIZ_EVENT (event_data3, event_data4) select ‘INITIALIZE’, ‘$\Pipeline.ps1’
2. If you have problems, try validating the SQL login credentials. You may have to install SQL Server Management Studio in order to test the login credentials to the server.
3. Most operations are logged to the serenedi root folder under a file called “install_log” – see if there are any problems there.
See the video tutorial walkthrough here
BASE REQUIREMENTS
OPERATING SYSTEM:
Windows 7 / Windows Server 2016 and above
PREREQUISITES:
- Access to SQL Server 2012 or Above
- A login account with local administrator access
RAM: SERENEDI requires at least 4 GB of RAM to function. If SERENEDI is licensed for additional cores, it requires 1 GB of RAM per additional core.
STORAGE: The base installation requires 150 MB of free disk space.
INSTALLATION
- SQL Server connection string: This defines the location and possibly the login credentials of the SQL Server account. This account should have permissions to create a database and access it with full permissions. For different examples of the connection string, visit: https://www.connectionstrings.com/sqlconnection/
- If you do not have access to a SQL Server instance and would like to quickly set one up:
- Install Docker Desktop
- Run this command:
docker run -e TZ=America/Los_Angeles -e "MSSQL_PID=Express" -e ACCEPT_EULA=Y -e SA_PASSWORD=strongPass1 -p 1433:1433 --name MSSQL -d mcr.microsoft.com/mssql/server:2019-latest
- Later during the install process when you are prompted for a SQL Connection string, use this:
Data Source=host.docker.internal;Database=serenediCore;User id=sa;Password=strongPass1; - An account and password with local administrator privileges: This is the account that will be used with the SERENEDI Service that is installed. If this is a domain account, it should be expressed in the form DOMAIN\username. If it is a local account, it should be expressed as ‘.\username’ (no quotes).
If your database permissions are maintained via Active Directory, this account needs to be fully provisioned with DBO privileges to the database, as well.
- The SERENEDI Windows installer is a single MSI file, around 65MB in size. Double-clicking on the file will result in the following dialog:
- Click Next, then click on the checkbox indicating acceptance of the End-User License Agreement and click Next. The license viewed will be either a Trial Evaluation license or a Production license.
- Choose the destination folder for SERENEDI. By default, the folder is C:\serenedi. If you’d like to choose another folder, enter it here. Otherwise, select Next.
- Enter in the account with local administrator rights along with the password in the boxes. If the account is local, precede it with (for example, .\admin for a local account named admin)
- Enter the connection string to the database. Note: if you have previously installed SERENEDI to this server, any existing database will be completely destroyed unless you specify a different database name in the connection string. Also note: in certain circumstances, you may need to add “;TrustServerCertificate=true;” to the end of the connection string.
- Click “Yes” at the User Account Control popup to start the installation.
- After a few seconds, SERENEDI will complete the initial setup and then install the database. The following window will pop-up:
- If all steps are successful, you should get a Setup Complete dialog. To further ensure normal operation of SERENEDI, go to C:\serenedi\shared\pipeline, and look for the following folder structure:
If this folder structure exists, then SERENEDI is running and processing events successfully.NOTE 1: There is a known bug where if the initial Windows install fails, there could be a lingering “SERENEDIService” that is not deleted, and will prevent SERENEDI from being installed thereafter. To remedy this, run the following commands from an Administrator shell before attempting to reinstall. The second command should be run twice – once immediately, and again after a reboot:
Remove-Item 'Registry::HKEY_LOCAL_MACHINE\SYSTEM\ControlSet001\Services\SERENEDIService' -Recurse
sc.exe delete SERENEDIService
<<Reboot Host>>
sc.exe delete SERENEDIService
NOTE 2: Please note that if you are reinstalling with an existing serenediCore database, the installer will destroy the existing serenediCore database and all associated data – so please back up any data you wish to keep before this time.

